
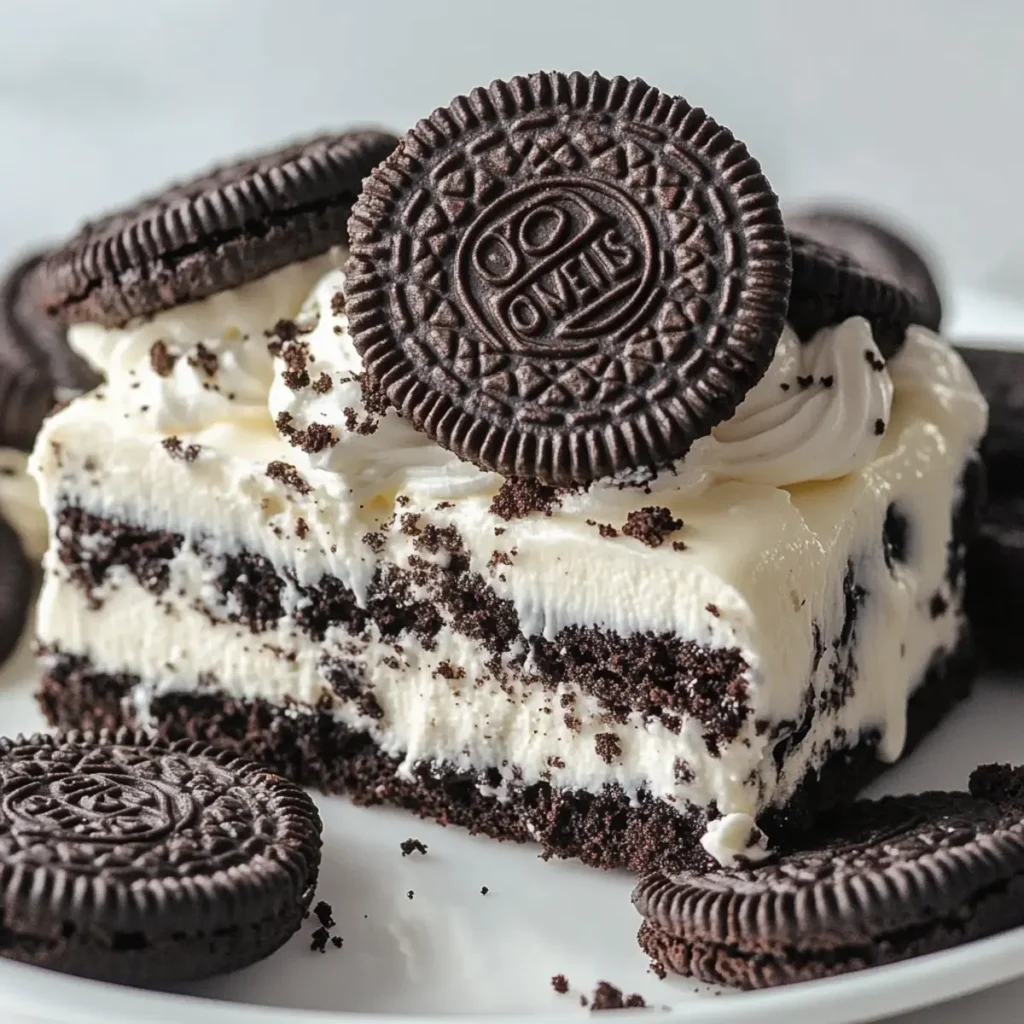
There’s something magical about Oreo desserts that can brighten any day. The sweet crunch of crushed Oreos combined with a creamy filling creates a dessert experience that’s hard to resist. With every bite, you get a delightful contrast between the chocolatey cookie and rich creaminess that whispers indulgence.
I remember the first time I made Oreo desserts for a gathering. The excited laughter and smiles around the table as we devoured those little bites of joy is a memory that still warms my heart. Be it a birthday, girls’ night in, or just a Tuesday night where chocolate is essential, these delights never fail to impress. They promise not only a burst of flavor but also a good time.
Why You'll Love This Oreo Desserts
- This incredible Oreo Desserts transforms simple everyday ingredients into restaurant-quality flavors that will blow your mind completely.
- Foolproof recipe techniques guarantee perfect results every single time, making even novice cooks feel like professional chefs instantly.
- Stunning visual appeal with gorgeous colors and mouthwatering aromas creates the ultimate Instagram-worthy dish for any special occasion.
- Endlessly adaptable for different dietary needs while working beautifully for meal prep, date nights, or entertaining large groups effortlessly.
Ingredients for Oreo Desserts
Here’s what you’ll need to make this delicious Oreo Desserts:
24 Oreo cookies: These are the foundation of your dessert, providing that signature chocolatey crunch. Crush them finely for the best crust.
1/2 cup butter (melted): This adds richness and helps bind the crushed cookies together to form a lovely crust.
8 oz cream cheese (softened): Opt for full-fat cream cheese for the creamiest texture. It adds a delightful tanginess to the filling.
1/2 cup powdered sugar: Adjust this according to your desired sweetness. It blends smoothly into the cream cheese for an irresistibly sweet filling.
1 tsp vanilla extract: A splash of vanilla elevates the flavor profile, giving your dessert a warm, aromatic essence.
1 cup whipped cream (light and fluffy): It lightens up the cream cheese mixture beautifully, bringing an airy texture to your dish.
Chocolate drizzle (optional): If you want to add an extra touch of decadence, this will certainly do the trick. Use store-bought or homemade!
How to Make Oreo Desserts
Follow these simple steps to prepare this delicious Oreo Desserts:
Step 1: Prepare the Crust
Begin by combining the finely crushed Oreo cookies with melted butter in a mixing bowl. The cookies should resemble sand, and the melted butter will help bind everything together. Press this mixture into the bottom of your serving dish to create a firm crust. You want it to be dense enough to hold up the filling but not so hard that it resembles a brick.
Step 2: Whip the Cream Cheese Filling
In a separate bowl, blend the softened cream cheese and powdered sugar until smooth. You can use a hand mixer or a whisk; either will do. Make sure it’s creamy and free of lumps. Stir in the vanilla extract for that extra kick of flavor.
Step 3: Fold in the Whipped Cream
Gently fold in the fluffy whipped cream into the cream cheese mixture. This step is crucial as it adds airiness and lightness to your filling. Don’t rush it; fold carefully until it’s all blended and smooth, with the whipped cream easily incorporated.
Step 4: Assemble the Dessert
Spread the creamy filling generously over the prepared Oreo crust. Use a spatula to ensure an even layer. This is where the magic happens! You’ll want to make sure all edges are covered.
Step 5: Drizzle with Chocolate (Optional)
If you’re feeling extra indulgent, drizzle a bit of chocolate sauce over the top. This step is entirely optional but adds a beautiful, decadent touch to your dessert.
Step 6: Chill Before Serving
Cover the dessert with plastic wrap and refrigerate it for at least 90 minutes. This chilling time lets the flavors meld and solidifies the texture, creating the perfect bite. Once set, you’ll want to slice it into squares and serve.
Transfer to plates and drizzle with additional chocolate sauce for the perfect finishing touch. Enjoy every bite of this Oreo desserts masterpiece!
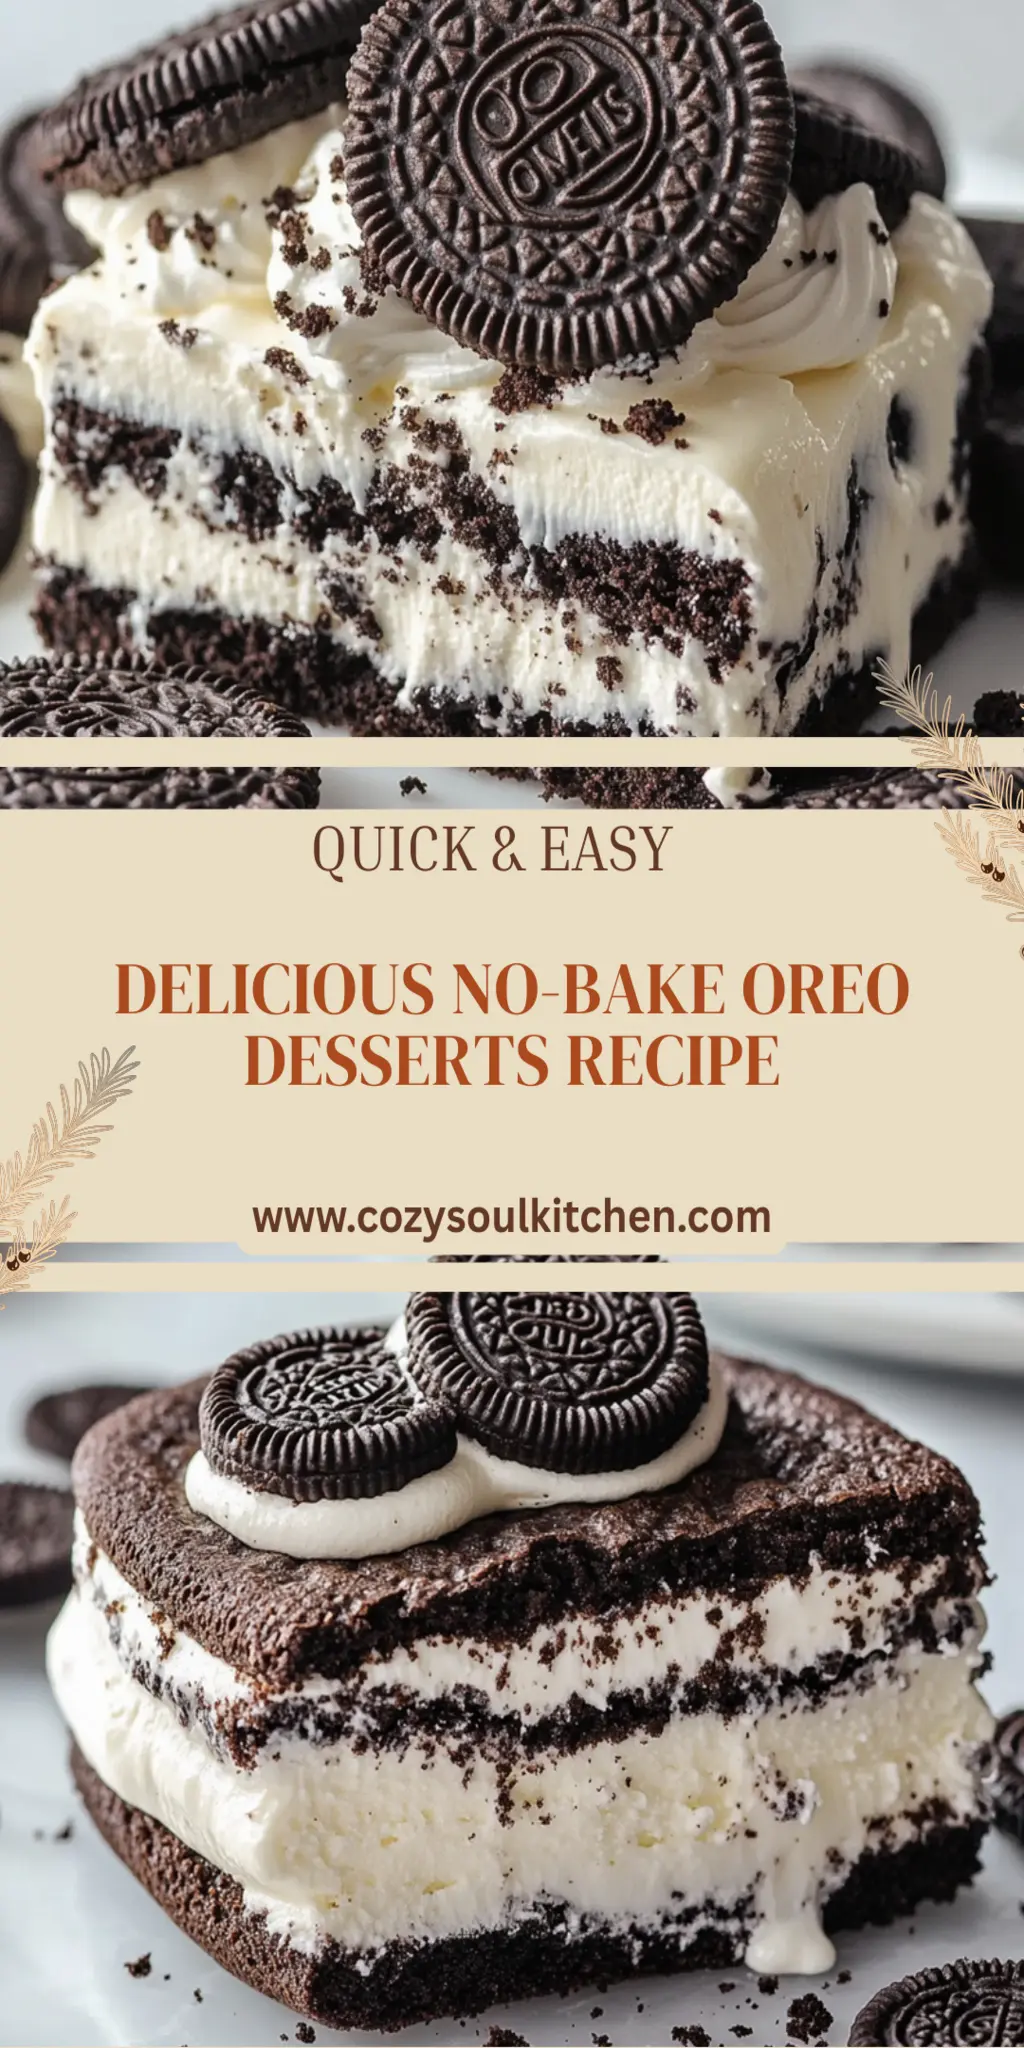
You Must Know About Oreo Desserts
- This showstopping Oreo Desserts delivers restaurant-quality results using simple ingredients you probably already have at home.
- The perfect balance of textures and flavors creates an unforgettable dining experience that will have everyone asking for seconds.
- Picture-perfect presentation with vibrant colors makes this dish absolutely Instagram-worthy and guaranteed to impress any dinner guest.
- Incredibly versatile recipe that works beautifully for weeknight dinners, meal prep, special occasions, or even outdoor entertaining sessions.
Perfecting Oreo Desserts Cooking Process
To get the perfect Oreo Desserts, start by making the crust first. While it sets in the fridge, whip up the creamy filling. This ensures smooth assembly and allows the flavors to meld harmoniously.
Add Your Touch to Oreo Desserts
Don’t hesitate to customize your Oreo Desserts! Swap out cream cheese for mascarpone for a richer taste, or add a splash of mint extract for a refreshing twist. You can even fold in chopped fruit for extra flavor.
Storing & Reheating Oreo Desserts
Store leftover Oreo Desserts in an airtight container in the fridge for up to three days. If you want to keep them longer, consider freezing individual portions. Just remember to thaw in the refrigerator before enjoying.
Chef's Helpful Tips for Oreo Desserts
- This professional-quality Oreo Desserts relies on precise timing and temperature control to achieve restaurant-standard results consistently.
- Master the art of mise en place by prepping all ingredients beforehand, ensuring smooth execution and preventing any last-minute cooking disasters.
- The secret lies in layering flavors throughout the cooking process rather than seasoning only at the end for maximum depth.
- Pro tip: let the finished dish rest for optimal texture and flavor development before serving to hungry guests waiting eagerly.
Sharing this recipe always brings back fond memories of a family gathering. My nephew took one bite and declared it “life-changing,” prompting an impromptu dance party in the kitchen. It’s moments like these that remind me why I love cooking.
FAQs About Oreo Desserts
What is Oreo Desserts?
Oreo Desserts are a delectable collection of treats that showcase everyone’s favorite chocolate sandwich cookie. This dessert variety often features a combination of crushed Oreo cookies, cream cheese, whipped cream, and sometimes additional elements like chocolate drizzle. Known for their creamy, rich texture and satisfying crunch, Oreo Desserts offer a delightful balance that pleases both the eyes and the palate. They can be served as no-bake cheesecakes, layered parfaits, or simply as a base for countless yummy variations. Who wouldn’t love something that blends simplicity with indulgence?
How do I customize my Oreo Desserts?
You can unleash your creativity when customizing Oreo Desserts! Consider swapping the cream cheese for mascarpone to achieve an ultra-creamy twist. For a refreshing punch, try adding a splash of mint extract to the filling or folding in some chopped fruit like strawberries or bananas. Want a bit more crunch? Incorporate some nuts or candies into the layers. The versatility of this dessert knows no bounds, so don’t hesitate to explore flavors that excite your taste buds!
Can I make Oreo Desserts ahead of time?
Absolutely! One of the best aspects of Oreo Desserts is their make-ahead potential. You can prepare the crust and filling several hours or even a day in advance. Just remember to cover the dish tightly with plastic wrap or store in an airtight container to maintain freshness. When you’re ready to serve, let the dessert chill properly in the refrigerator, ensuring it sets beautifully. Making them ahead of time can save precious minutes on a busy day or during an event.
What are some topping ideas for Oreo Desserts?
When it comes to toppings, the sky’s the limit for Oreo Desserts! Classic options include a drizzle of chocolate sauce or a sprinkle of crushed Oreos for added texture. You might try adding fresh berries like raspberries or blueberries for a pop of color and flavor. Another delightful choice is a dollop of whipped cream or even a sprinkle of crushed candies, like peanut butter cups or mints. Personalizing the toppings can elevate the dessert and create a stunning visual presentation.
Conclusion for Oreo Desserts
In summary, Oreo Desserts are a crowd-pleaser that combines simple ingredients into a rich and satisfying treat. Whether you stick with the classic recipe or add your unique twist, they’re sure to impress family and friends alike. By preparing them ahead of time and being open to customization, you can elevate your dessert game effortlessly. So grab those Oreos and get ready to create something fabulous—your taste buds will thank you!

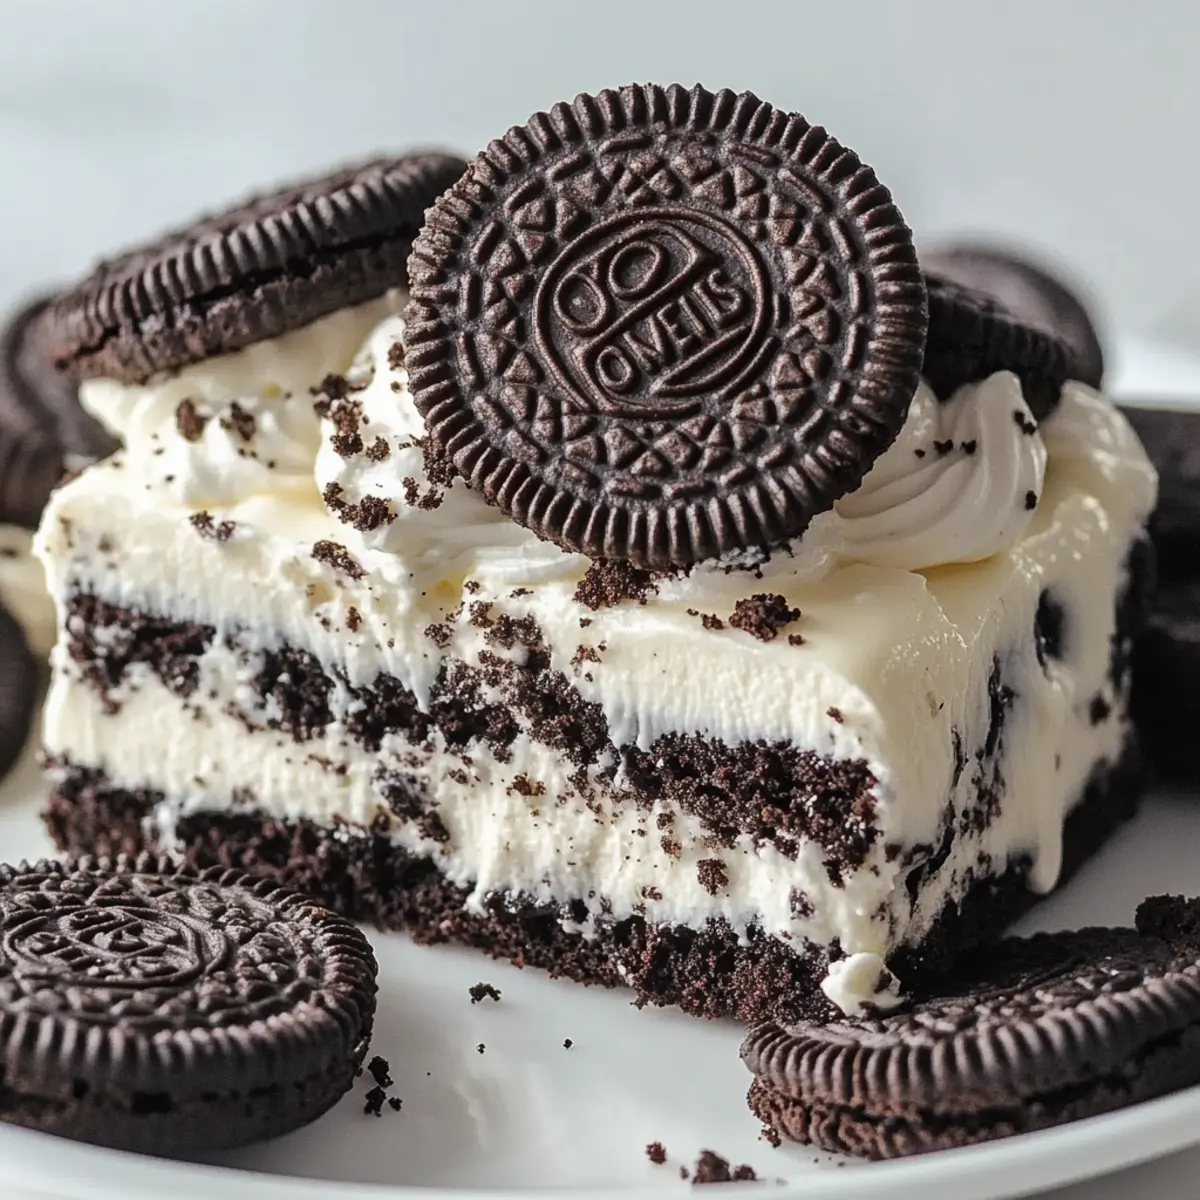
Delicious No-Bake Oreo Desserts
Ingredients
Equipment
Method
- In a mixing bowl, combine crushed Oreo cookies and melted butter.
- Press the mixture into the bottom of a serving dish to form a crust.
- In another bowl, blend softened cream cheese and powdered sugar until smooth.
- Stir in vanilla extract and gently fold in whipped cream until well combined.
- Spread the cream cheese mixture over the Oreo crust.
- Drizzle with chocolate if desired.
- Refrigerate for at least 90 minutes before serving.