
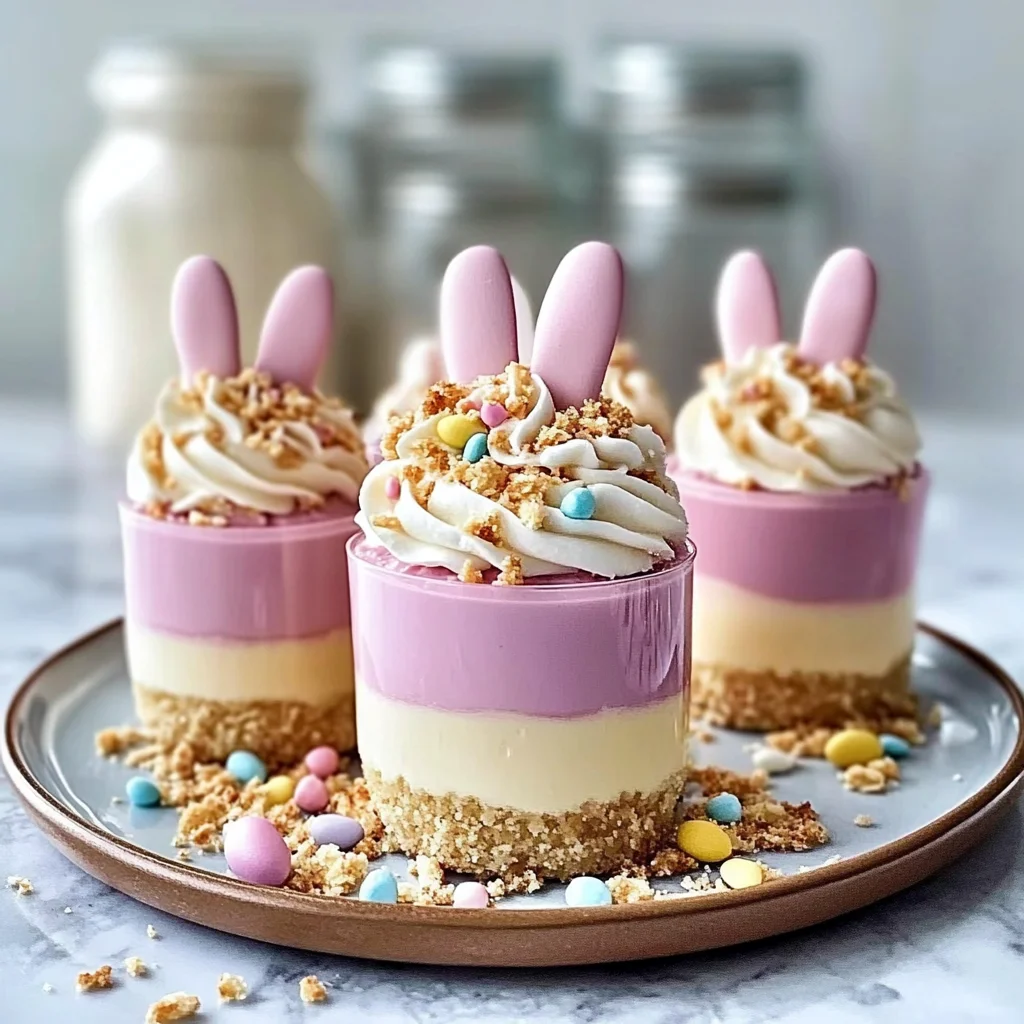
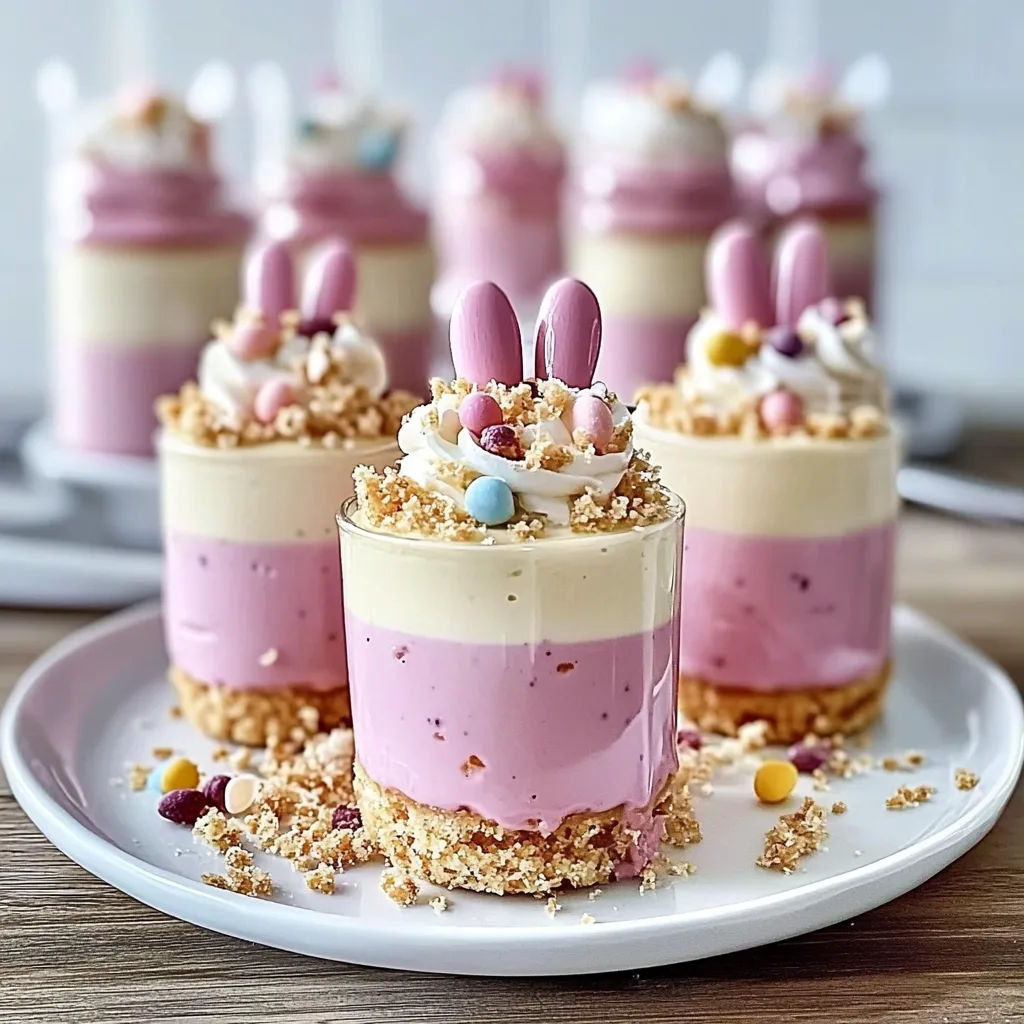
Imagine biting into a creamy, dreamy Easter Bunny Cheesecake Cup, where each spoonful transports you to a world of sweet delight, with fluffy textures and vibrant flavors dancing on your palate. The playful decoration resembling adorable bunnies brings a smile to every face, making these treats the perfect centerpiece for your festive celebration.
As you gather with loved ones around the joyous Easter table, sharing laughter and stories, these delightful cheesecake cups will surely spark memories of childhood treats and family traditions. With their irresistible sweetness and charming presentation, you’ll find yourself eagerly reaching for another—because who can resist such an enchanting experience that combines nostalgia with pure indulgence?
Why Will You Keep Making Easter Bunny Cheesecake Cups?
Delightful flavors come together in these creamy cups, featuring rich cream cheese and sweet vanilla for a taste that’s simply irresistible. Adorable presentation with mini chocolate chips for eyes and marshmallow bunny ears makes them perfect for any Easter celebration. Quick and easy to prepare, with no baking required, these treats save you time while impressing your guests. Versatile servings can be customized with your favorite toppings or colors, ensuring everyone will love them. Crowd-pleasing appeal means they’re sure to be a hit at family gatherings, ensuring smiles all around!
Easter Bunny Cheesecake Cups Ingredients
For the Cheesecake Filling
- 8 oz cream cheese (softened) – This creamy base adds richness to your cheesecake cups, ensuring they are delightfully smooth.
- 1/2 cup sugar – Sweetens the filling perfectly; feel free to adjust if you prefer a less sweet dessert.
- 1 tsp vanilla extract – Enhances the flavor profile with a warm, aromatic touch; use pure vanilla for best results.
- 1 cup whipped cream (lightly whipped) – Adds lightness and volume, making the cheesecake airy and delightful.
For Decoration
- 1 cup graham cracker crumbs (for crust) – Creates a deliciously crunchy base that complements the creamy filling beautifully.
- 1 cup mini chocolate chips (for eyes) – These little morsels add a fun touch and bring your Easter Bunny Cheesecake Cups to life!
- 4 pieces marshmallows (for bunny ears) – Soft and fluffy, they provide an adorable look for your bunnies; cut them in half for best effect.
- 4 pieces candy melts (pink for inside ears) – Melt these down to add a pop of color inside your bunny ears, making them extra cute!
Step-by-Step Easter Bunny Cheesecake Cups
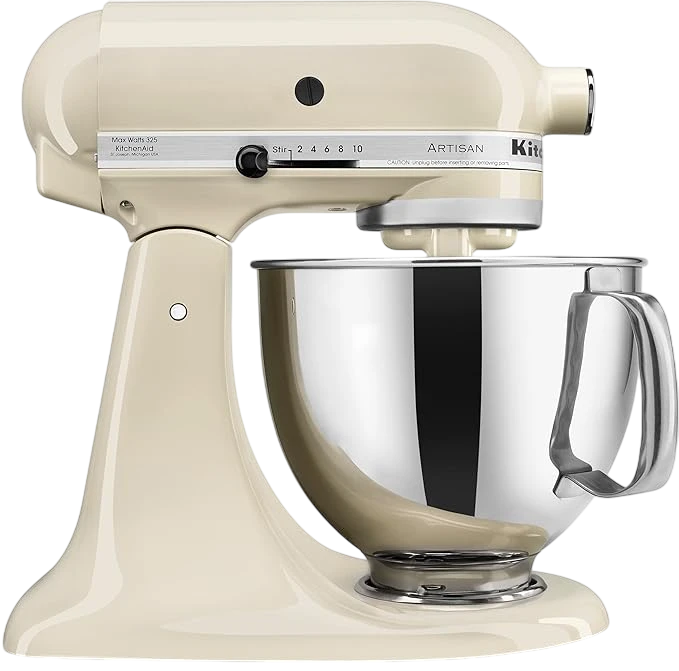
1. Beat the softened cream cheese in a mixing bowl with an electric mixer until smooth and creamy, ensuring there are no lumps. This should take about 2-3 minutes.
2. Add the sugar and vanilla extract, mixing until well combined and the mixture is sweetened beautifully, about 1 minute more. The texture will be velvety.
3. Fold in the lightly whipped cream gently until the mixture becomes light and fluffy, creating a heavenly cheesecake filling that’s ready to delight your taste buds.
Assemble the Cups:
4. Layer each serving cup with a generous amount of graham cracker crumbs to create a delicious crust at the bottom—this will add a perfect crunch to your dessert.
5. Spoon the creamy cheesecake filling over the crust, filling each cup all the way to the top for that delightful treat everyone will love.
6. Chill the cups in the refrigerator for at least 1 hour to set properly, allowing those flavors to meld together beautifully into a luscious dessert.
Decorate:
7. Melt the pink candy melts according to package instructions and use them to coat four marshmallows, transforming them into adorable bunny ears that will bring joy to your Easter Bunny Cheesecake Cups.
8. Place the decorated marshmallows on top of each cheesecake cup as bunny ears; they’ll look so cute peeking out from above!
9. Add mini chocolate chips for eyes, giving your adorable bunny faces personality and charm before serving chilled for everyone to enjoy.
Optional: Garnish with fresh mint leaves for a pop of color!
Exact quantities are listed in the recipe card below.
Expert Tips
- Softened Cream Cheese: Ensure your cream cheese is completely softened to avoid lumps in the cheesecake filling, creating a smooth texture.
- Gentle Folding: When incorporating the whipped cream, fold gently to maintain the light and fluffy consistency essential for these Easter Bunny Cheesecake Cups.
- Chill Time Matters: Don’t skip the chilling step! Allowing the cups to set for at least an hour ensures they hold their shape when serving.
- Marshmallow Ears: For best results, let the pink candy melts cool slightly before coating the marshmallows; this prevents them from sliding off as they cool.
- Graham Cracker Crust: Press the graham cracker crumbs firmly into the bottom of each cup. This helps create a sturdy base that won’t crumble when you dig in.
How to Store and Freeze Easter Bunny Cheesecake Cups
- Fridge: Keep your Easter Bunny Cheesecake Cups in an airtight container for up to 3 days to maintain their creamy texture and freshness.
- Freezer: You can freeze the cheesecake cups without toppings for up to 2 months. Just wrap them tightly in plastic wrap and then foil to prevent freezer burn.
- Thawing: When ready to enjoy, thaw in the fridge overnight. Add decorations just before serving for the best presentation.
- Leftover Toppings: Store any leftover decorations, like mini chocolate chips and graham cracker crumbs, separately in airtight containers to keep them fresh.
Easter Bunny Cheesecake Cups Your Way
Feel free to get creative and personalize these delightful treats to suit your taste and dietary preferences!
- Vegan: Substitute cream cheese with a vegan cream cheese alternative, and use coconut whipped cream for a luscious, dairy-free option. These will still deliver that creamy delight without any animal products.
- Sugar-Free: Use a sugar substitute like erythritol or stevia in place of sugar for a guilt-free dessert. This allows you to enjoy the same sweet flavor while cutting down on calories.
- Flavored Cheesecake: Add 1 tablespoon of lemon or orange zest to the filling for a refreshing citrus twist. The bright flavors will add a lovely zing that complements the sweetness beautifully.
- Chocolate Lovers: Mix in 2 tablespoons of cocoa powder to the cheesecake filling for a rich chocolate version. It transforms these bunny cups into an irresistible chocolate treat that’s perfect for Easter indulgence.
- Crunchy Texture: Stir in 1/2 cup of finely chopped nuts, like walnuts or pecans, into the filling for added crunch. This variation adds depth and texture, making every bite exciting.
- Spicy Kick: Incorporate 1/4 teaspoon of cinnamon or nutmeg into the filling for a warm spice note. It’s an unexpected twist that can evoke cozy memories of springtime baking.
- Fruit-Infused: Blend in 1/3 cup of pureed strawberries or raspberries into the filling for a fruity flair. This not only enhances flavor but also gives your cheesecake cups a beautiful color.
- Miniature Treats: Instead of full-sized cups, use mini muffin tins to create bite-sized versions perfect for kids’ parties. These adorable little desserts are sure to be a hit!
Make Ahead Options
These delightful Easter Bunny Cheesecake Cups are perfect for meal prep, allowing you to enjoy the festivities without the last-minute rush. You can prepare the cheesecake filling by beating 8 oz of softened cream cheese, mixing in 1/2 cup of sugar and 1 tsp of vanilla extract, then folding in 1 cup of lightly whipped cream until light and fluffy. For assembly, layer 1 cup of graham cracker crumbs in each serving cup, spooning the cheesecake filling on top. This can be done up to 24 hours in advance; simply chill them in the refrigerator for at least 1 hour to set. Additionally, you can prepare the decorations ahead of time—melt the pink candy melts and coat the marshmallows for bunny ears, which can be stored for up to 3 days. When you’re ready to serve, just top your cups with the decorated marshmallows and mini chocolate chips for eyes. Enjoy these charming Easter Bunny Cheesecake Cups with minimal fuss!
Easter Bunny Cheesecake Cups Recipe FAQs
Can I use low-fat cream cheese for the cheesecake filling?
Absolutely! Low-fat cream cheese can be a great alternative and will still yield a deliciously creamy filling. Just ensure it’s softened properly to achieve that smooth consistency.
How should I store leftover cheesecake cups?
To keep your adorable cheesecake cups fresh, store them in an airtight container in the refrigerator. They’ll last for about 2-3 days, but trust me, they’re so delightful, they may not last that long!
Can I freeze these cheesecake cups?
While freezing is possible, it’s best to freeze just the cheesecake filling without the decorations. You can freeze the filling in individual containers for up to 2 months. When ready to enjoy, simply thaw it in the fridge overnight and assemble your bunny cups fresh.
What if my cheesecake filling isn’t fluffy enough?
If your filling isn’t as fluffy as you’d like, try folding in the whipped cream more gently—overmixing can deflate it. Also, ensure your cream cheese is at room temperature before mixing; this helps achieve that light and airy texture.
How many servings does this recipe make?
This delightful recipe yields 4 charming Easter Bunny Cheesecake Cups. Perfect for a small gathering or as a sweet treat for your family during the holiday!
Can I customize the decorations for different occasions?
Definitely! While these are themed for Easter with bunny ears and chocolate eyes, feel free to get creative! For birthdays, you could use colorful sprinkles instead of graham cracker crumbs or try different candies to suit any festive occasion.
Easter Bunny Cheesecake Cups
Ingredients
Method
- In a mixing bowl, beat the softened cream cheese with an electric mixer until smooth.
- Add sugar and vanilla extract, and mix until well combined.
- Gently fold in the whipped cream until the mixture is light and fluffy.
- In each serving cup, add a layer of graham cracker crumbs to create a crust.
- Spoon the cheesecake filling over the crust, filling each cup to the top.
- Chill in the refrigerator for at least 1 hour to set.
- Melt the pink candy melts and use them to coat the marshmallows for bunny ears.
- Place the decorated marshmallows on top of the cheesecake cups as bunny ears.
- Add mini chocolate chips for eyes and serve chilled.