
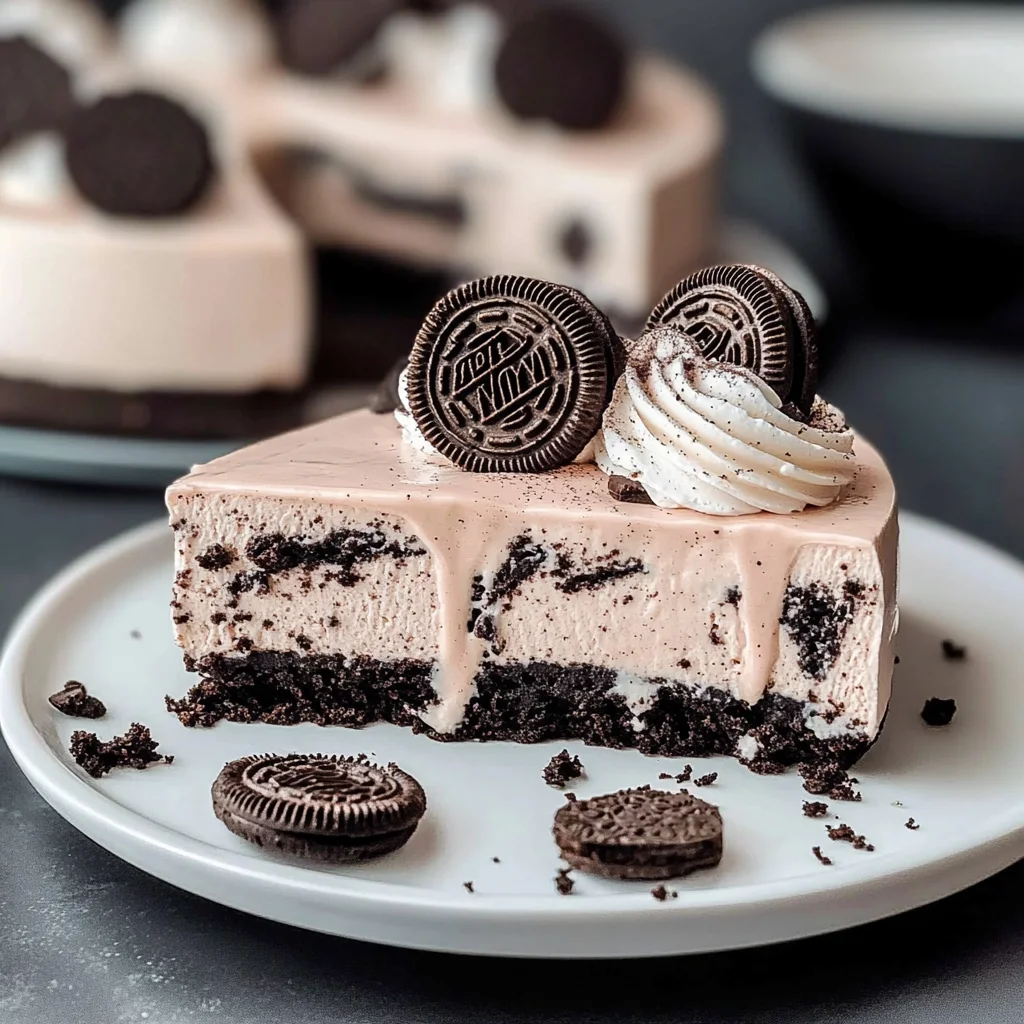
Imagine sinking your spoon into a rich and creamy No Bake Oreo Cheesecake, where each velvety bite bursts with the irresistible crunch of chocolatey cookies. The sweet aroma wafts through the kitchen, inviting you to indulge in this decadent dessert that feels like a slice of heaven, perfect for any occasion from spontaneous gatherings to cozy movie nights.
I still remember the first time I whipped up this delightful cheesecake; it was a hot summer day, and the last thing I wanted was to turn on the oven. As I layered the crushed Oreos with the luscious cream cheese filling, my family gathered around, their anticipation building as they eyed the bowl. This no-fuss dessert promises an amazing flavor experience that will leave everyone asking for seconds!
Why Does Everyone Love No Bake Oreo Cheesecake?
Indulge in a dessert that combines the best of both worlds: rich, creamy filling and a crunchy Oreo crust! Effortless to whip up in just 15 minutes, this cheesecake is perfect for last-minute gatherings. Creamy cream cheese and whipped heavy cream create a luscious texture, while chopped Oreos add delightful bites throughout. Versatile enough to impress any crowd, it’s a guaranteed hit at parties or family dinners. Plus, there’s no baking required—just chill and serve!
No Bake Oreo Cheesecake Ingredients
For the Crust
- 24 pieces Oreo cookies (crushed) – Use crushed Oreos to create a rich and flavorful base for your cheesecake.
- 5 tablespoons unsalted butter (melted) – Melted butter binds the crust together, ensuring a deliciously crisp texture.
For the Filling
- 16 ounces cream cheese (softened) – Softened cream cheese gives your cheesecake that luscious, creamy consistency.
- 1 cup powdered sugar – Powdered sugar adds sweetness and helps achieve a smooth filling without grittiness.
- 1 cup heavy cream (cold) – Cold heavy cream whips up beautifully, creating a light and airy texture in your cheesecake.
- 1 teaspoon vanilla extract – A splash of vanilla enhances the flavors, adding warmth and depth to your cheesecake.
- 8 pieces Oreo cookies (chopped) – Chopped Oreos add delightful crunch and extra chocolate flavor throughout the filling of your No Bake Oreo Cheesecake.
Step-by-Step No Bake Oreo Cheesecake
1. Combine In a mixing bowl, combine 24 crushed Oreo cookies and 5 tablespoons melted unsalted butter. Mix until well combined, creating a delicious crust that’s ready to hold all that creaminess.
2. Press Next, press the mixture firmly into the bottom of a springform pan. Aim for an even layer that creates a sturdy base for your cheesecake.
For the Filling:
3. Beat In another bowl, beat 16 ounces of softened cream cheese and 1 cup of powdered sugar together until smooth. This blend will be rich and creamy, setting the perfect stage for your cheesecake.
4. Whip In a separate bowl, whip 1 cup of cold heavy cream along with 1 teaspoon of vanilla extract until stiff peaks form. This will add airiness to your filling, making it light yet decadent.
5. Fold Gently fold the whipped cream into the cream cheese mixture until fully combined. Take your time here; you want to keep that fluffy texture intact!
6. Mix Now fold in 8 chopped Oreo cookies, allowing their delightful crunch to contrast beautifully with the creamy filling.
7. Pour Pour the luscious filling over the crust in the springform pan and spread it evenly across the top. You’re one step closer to enjoying this delightful No Bake Oreo Cheesecake!
8. Refrigerate Finally, refrigerate for at least 4 hours or until set. Patience is key here; letting it chill properly ensures each slice holds its shape.
9. Remove Once set, gently remove the cheesecake from the springform pan and slice into pieces with a warm knife for clean cuts.
10. Serve Serve chilled and enjoy! Each bite is sure to bring smiles around your table.
Optional: Drizzle with chocolate sauce for added indulgence.
Exact quantities are listed in the recipe card below.
Tips for the Best No Bake Oreo Cheesecake
- Crust Consistency: Ensure the crushed Oreos are finely ground for a smooth, even crust that holds together well once pressed into the pan.
- Butter Measurement: Use exact measurements of melted butter to avoid a dry crust. Too little can lead to crumbling when slicing.
- Cream Cheese Temperature: Make sure your cream cheese is softened at room temperature. Cold cream cheese can result in a lumpy filling.
- Whip Cream Properly: Whip the heavy cream until stiff peaks form, which is crucial for a light and airy texture in your No Bake Oreo Cheesecake.
- Chill Time Matters: Don’t rush the chilling process! Refrigerate for at least 4 hours to ensure it sets properly and slices cleanly.
- Oreo Mix-Ins: Gently fold in the chopped Oreos last to maintain their texture. This adds delightful chunks throughout your cheesecake.
How to Store and Freeze No Bake Oreo Cheesecake
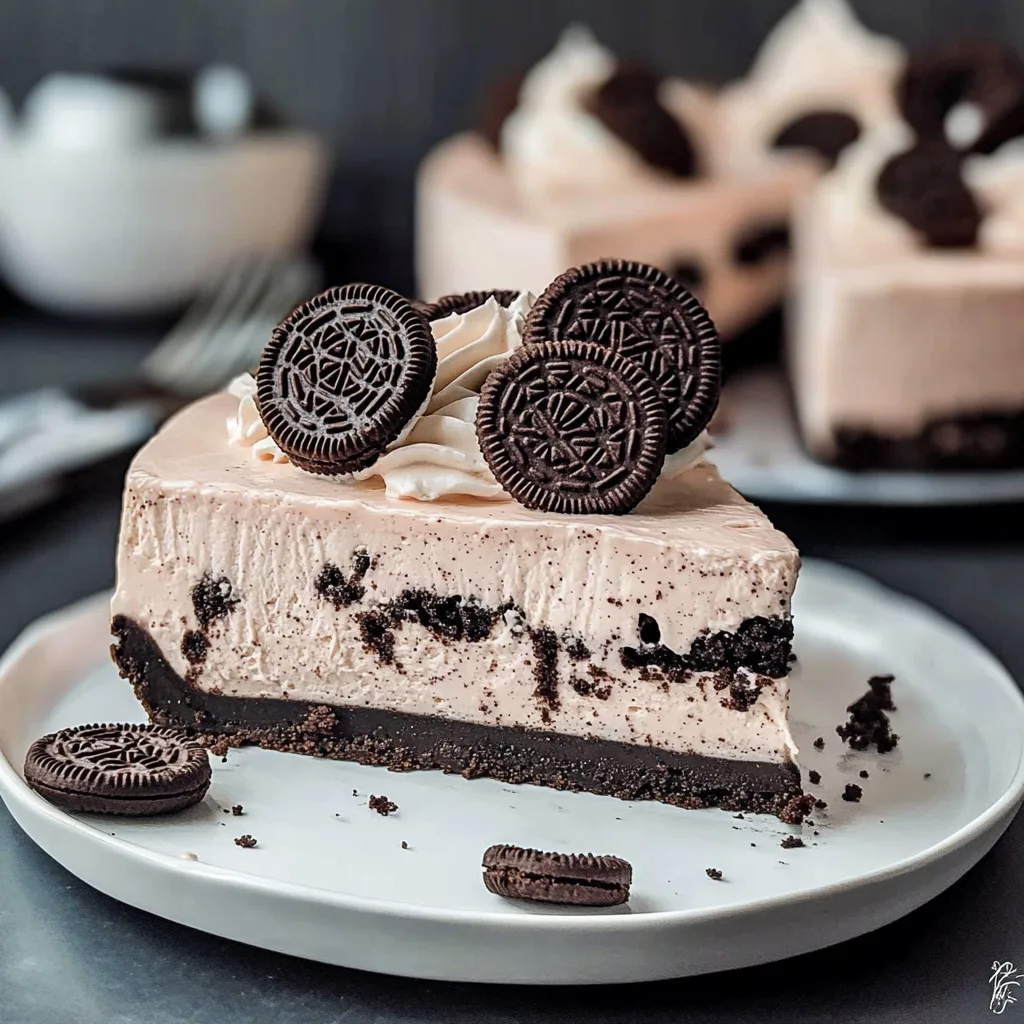
- Fridge: Store your No Bake Oreo Cheesecake in an airtight container for up to 5 days. This helps maintain its creamy texture and prevents it from absorbing other fridge odors.
- Freezer: If you want to keep it longer, wrap individual slices tightly in plastic wrap, then place them in a freezer-safe container. It can last for up to 2 months.
- Thawing: To enjoy frozen slices, transfer them to the fridge and let them thaw overnight before serving. This keeps the cheesecake smooth and delicious.
- Serving: Once thawed, it’s best to consume the cheesecake within 24 hours for optimal freshness and flavor!
No Bake Oreo Cheesecake Variations
Feel free to get creative and make this delightful dessert truly your own with these fun twists!
- Gluten-Free: Substitute regular Oreos with gluten-free chocolate cookies for a deliciously accommodating crust. Everyone can enjoy this treat without worry, capturing that same rich flavor while being kind to dietary needs.
- Minty Fresh: Use mint-flavored Oreos in the crust for an invigorating twist. This adds a refreshing burst of flavor that pairs beautifully with the creamy filling, giving it a festive flair perfect for gatherings.
- Peanut Butter Delight: Mix in 1/2 cup of creamy peanut butter into the filling for a nutty surprise. This variation brings a delightful richness, making each bite even more indulgent and satisfying for peanut butter lovers.
- Coffee Kick: Add 1 tablespoon of instant coffee granules to the filling for an energizing jolt. The coffee enhances the chocolate flavor and offers a sophisticated edge that’s perfect for adult palates.
- Berry Bliss: Fold in 1 cup of crushed berries (like strawberries or raspberries) into the filling. This fruity addition not only gives a pop of color but also balances the richness with vibrant freshness, making every slice a little piece of heaven.
- Coconut Cream: Incorporate 1/2 cup of shredded coconut into the filling for a tropical touch. The coconut adds both texture and a hint of sweetness, transporting you to paradise with every decadent bite.
- Chocolate Lovers: Drizzle melted chocolate over the top before serving for an extra layer of indulgence. This simple addition elevates your cheesecake visually and taste-wise, creating a stunning dessert that will impress any crowd.
- Spiced Cheesecake: Mix in 1 teaspoon of cinnamon or pumpkin spice into the filling for warm notes of spice. It’s a cozy twist that brings comfort to your dessert table, perfect for fall gatherings or holiday feasts.
Make Ahead Options
Preparing a No Bake Oreo Cheesecake is a delightful way to simplify your dessert planning, making it perfect for meal prep. You can crush the 24 Oreo cookies and mix them with 5 tablespoons of melted unsalted butter to form the crust up to 24 hours in advance—just press it into the springform pan and store it in the fridge. Additionally, you can whip together the cream cheese and powdered sugar (16 ounces of softened cream cheese and 1 cup of powdered sugar), then fold in the whipped heavy cream (1 cup cold) with vanilla extract (1 teaspoon) and chopped Oreos (8 pieces) ahead of time. This filling can be prepared up to 3 days in advance; just keep it covered in the refrigerator until you’re ready to assemble. When you’re ready to serve, simply pour the filling over your prepped crust, refrigerate for at least 4 hours, slice, and enjoy your rich No Bake Oreo Cheesecake!
No Bake Oreo Cheesecake Recipe FAQs
Can I use a different type of cookie for the crust?
Absolutely! While Oreos add a delightful chocolatey flavor, you can substitute them with any chocolate sandwich cookie or even graham crackers. If using graham crackers, consider adding a bit of cocoa powder to maintain that rich taste.
How should I store my No Bake Oreo Cheesecake?
Store your cheesecake in an airtight container in the refrigerator. It will stay fresh for up to 5 days. Just be sure to cover it well to prevent any odors from the fridge affecting its delicious flavor!
Can I freeze the No Bake Oreo Cheesecake?
Yes! You can freeze this cheesecake for up to 2 months. Just wrap it tightly in plastic wrap and then foil to avoid freezer burn. To enjoy, simply transfer it to the fridge overnight to thaw before serving.
What if my filling isn’t setting properly?
If your cheesecake isn’t setting, ensure that your heavy cream was cold when whipped—it should form stiff peaks. If it’s still too soft after chilling for at least 4 hours, you might need to re-whip the cream and gently fold it back into the mixture before chilling again.
How many servings does this recipe yield?
This recipe makes about 4 servings, perfect for an intimate dessert night or a small family gathering. Each slice has approximately 450 calories, so it’s a satisfying treat without being overly indulgent.
Can I make this dessert dairy-free?
Yes! For a dairy-free version, use dairy-free cream cheese and coconut cream instead of heavy cream. Make sure your Oreo cookies are also dairy-free, as some brands may contain dairy ingredients. Enjoy a guilt-free slice that everyone can savor!